When Will the Astral Assassin Chest Come Around Again
Quick Links
- Legend Difficulty Differences
- Crush The Intruders
- Potential Encounter: Collapse The Taken Rifts
- Potential Run across: Install The Batteries
- Potential Encounter: Prevent The Ether Harvest
- Defeat The Final Boss
Astral Alignment is a new seasonal activity added to Destiny 2 in Season of the Lost. This activity pits a matchmade team of half-dozen Guardians against an onslaught of Taken and Contemptuousness that have taken control of the Dreaming City's various Beacons. Your fireteam will need to juggle batteries, destroy Ether bubbling, and use Last Wish'due south Taken Essence buff mechanic to beat this mission.
Completing this mission is needed to complete certain steps in Flavour 15's narrative questline, and this mission has a pocket-size take a chance of granting the Ager'southward Scepter Exotic Catalyst. If you want to farm seasonal gear or get this Catalyst, Astral Alignment is where y'all'll want to be. Without farther ado, here is a complete guide to Flavour of the Lost's Astral Alignment activeness.
Updated Oct 19th, 2021, by Charles Burgar: Legend Astral Alignment is finally hither, giving hardcore players a take chances to exam out their builds in a more difficult version of this six-player activity. If you can deal with the lack of matchmaking and additional modifiers, you'll be able to farm more seasonal gear and accept a higher gamble of obtaining the Ager's Scepter Exotic Catalyst. We've updated this guide to include the Legend difficulty differences to Astral Alignment, and we've added information on the Scorn boss that appears every other week.
Legend Difficulty Differences

Bungie added a second difficulty variant to Astral Alignment partway through Flavor of the Lost. Known every bit Legend difficulty, this variant features additional modifiers and a college Ability requirement. Clearing the Fable version of Astral Alignment has a higher chance of dropping the Ager'due south Scepter Catalyst. Additional seasonal gear as well drops from the final chests, although they don't seem to drop with high stats or additional perks to select between.
Hither are the modifiers nowadays for Legend Astral Alignment:
| Modifier | Description |
|---|---|
| Recommended Power Level |
|
| Champions: Overload |
|
| Champions: Unstoppable |
|
| Equipment Locked |
|
| Lucifer Game |
|
| Scorched Globe |
|
| Empath |
|
It'south also worth mentioning that Legend Astral Alignment has no matchmaking whatsoever. Yous'll demand to get a fireteam of 6 Guardians together before you can run this. You lot could hypothetically solo the Fable variant, but you'll need an exceptional build to pull that off.
Recommend Loadout
Unless y'all plan to solo this mission, you can run nigh whatever yous desire. Bring at least two different element types to assist with breaking shields, use at least one anti-Champion mod, and use some hard-hitting weapons like Fusion Rifles. If you accept Particle Deconstruction, Champions and the final boss should be a breeze to impale.
For masochists and skilled solo players, yous'll want to bring Arbalest or some way to counter every shield type. Alternatively, you lot tin can besides bring One Thou Voices with Particle Deconstruction to brute strength through various shield types.
Defensive subclasses are highly recommended and mandatory for solo play. Hunters might consider Nightstalker or Revenant with Assassin's Cowl. Warlocks should have advantage from Devour on bottom tree Voidwalker. And Titans tin can use top tree Lookout or bottom tree Sunbreaker to stay alive.
Crush The Intruders
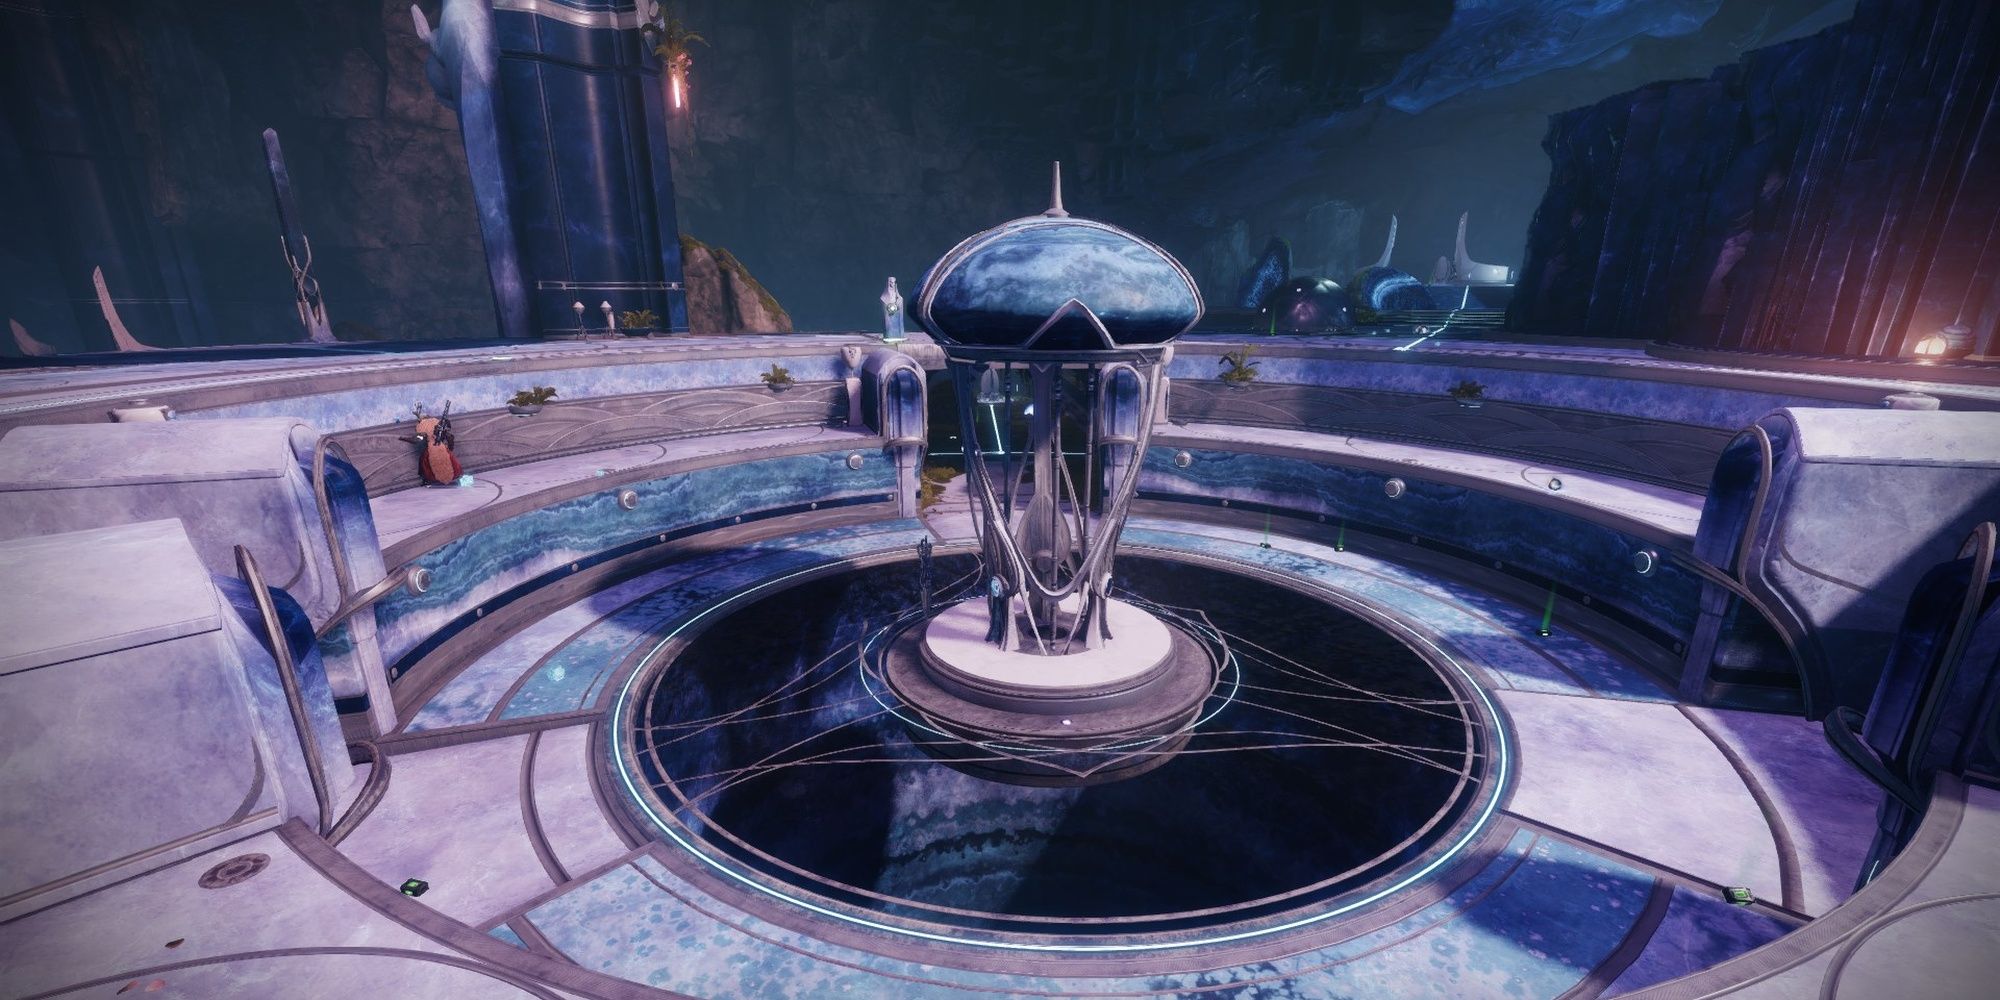
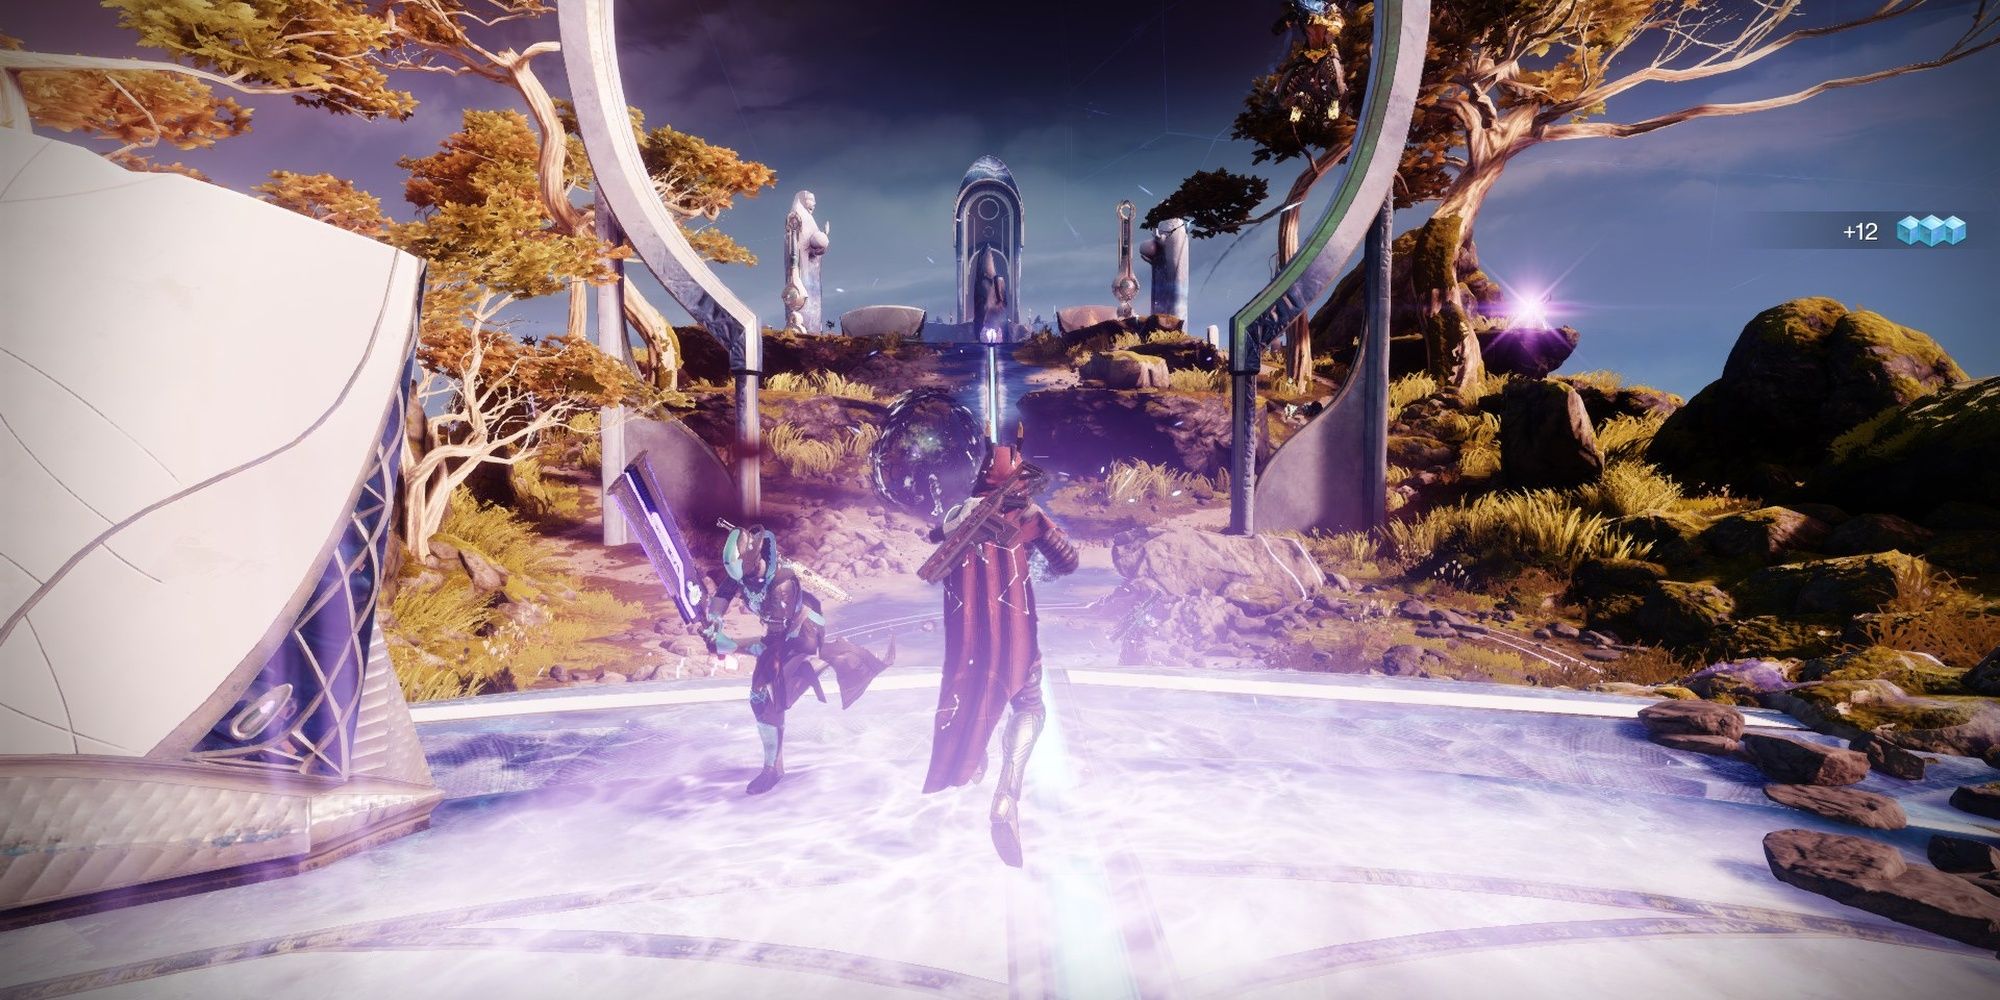
Astral Alignment begins with your fireteam of six defending an Oracle Engine—the aforementioned location y'all defend in the opening encounter of Bullheaded Well. Defeat the Scorn protecting the Oracle Engine. Multiple waves will shortly spawn in.
AoE weapons and Warmind Cells work groovy for immigration out the waves. Be careful during this role, as some of the Scorn deal Stasis damage. When you lot've cleared out the Contemptuousness, interact with the Wayfinder'due south Compass in front of the Oracle Engine to kickoff a new encounter. You'll demand to consummate two encounters before yous face the final dominate. The side by side two encounters are pulled from a pool of iii encounters. Allow's go over each of them.
Potential Run across: Collapse The Taken Rifts
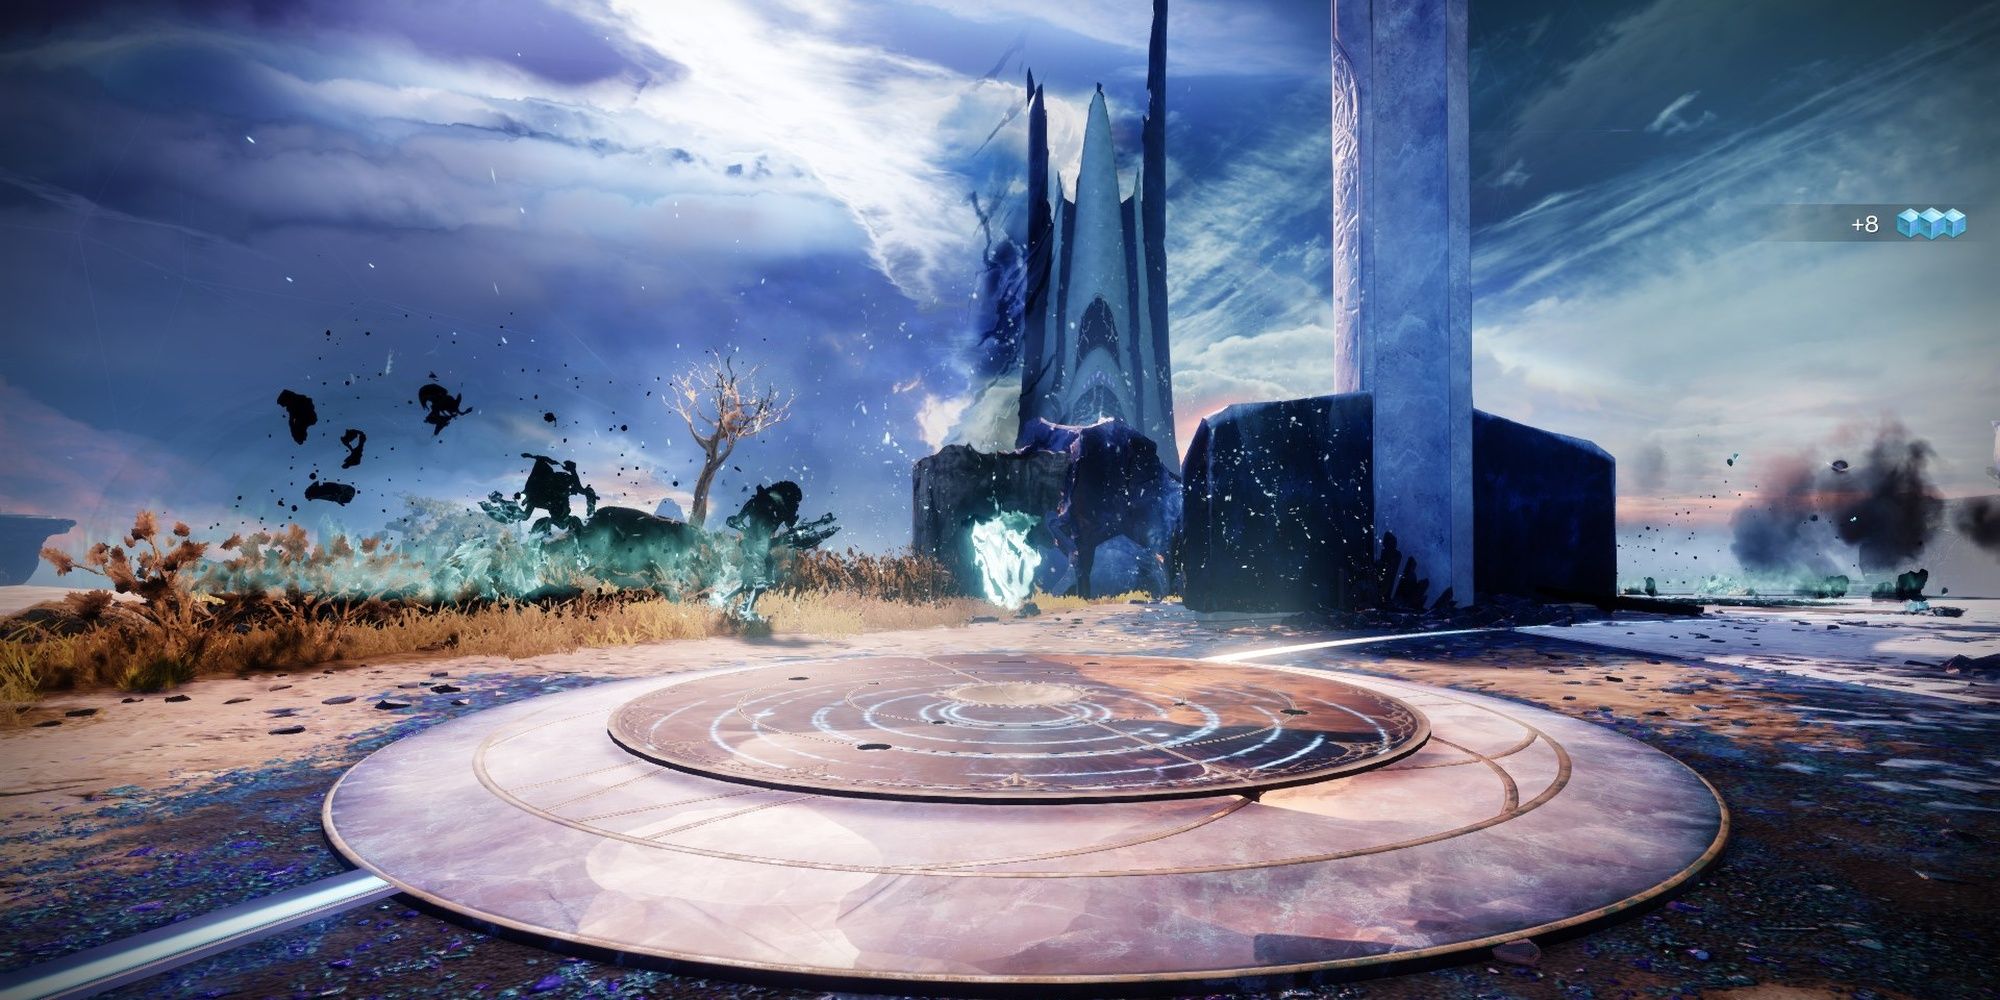
Ley Line, Pallas is where this come across takes place. For this encounter, you'll need to purge Taken Rifts. These rifts spawn above Awoken plates that can be found all around the arena. You'll need to purge every plate to stop this encounter.
Taken forces will spawn on all sides. After you articulate out the initial fodder enemies, a Taken Captain named Centre of Xivu Arath volition spawn. Defeating the Helm volition spawn a Taken Essence on its corpse. Grab the buff.
If you've played the Last Wish raid, this essence behaves exactly the same as the Penumbra and Antumbra essences. Your weapon volition be replaced with a Taken projectile. With the Essence, walk towards a Taken Rift. Your graphic symbol volition automatically purge information technology in one case yous get close plenty. Your fireteam will demand to repeat this process for the residual of the plates to finish the encounter. Multiple Captains spawn throughout this section, so a coordinated fireteam should be able to finish this part fairly quickly.
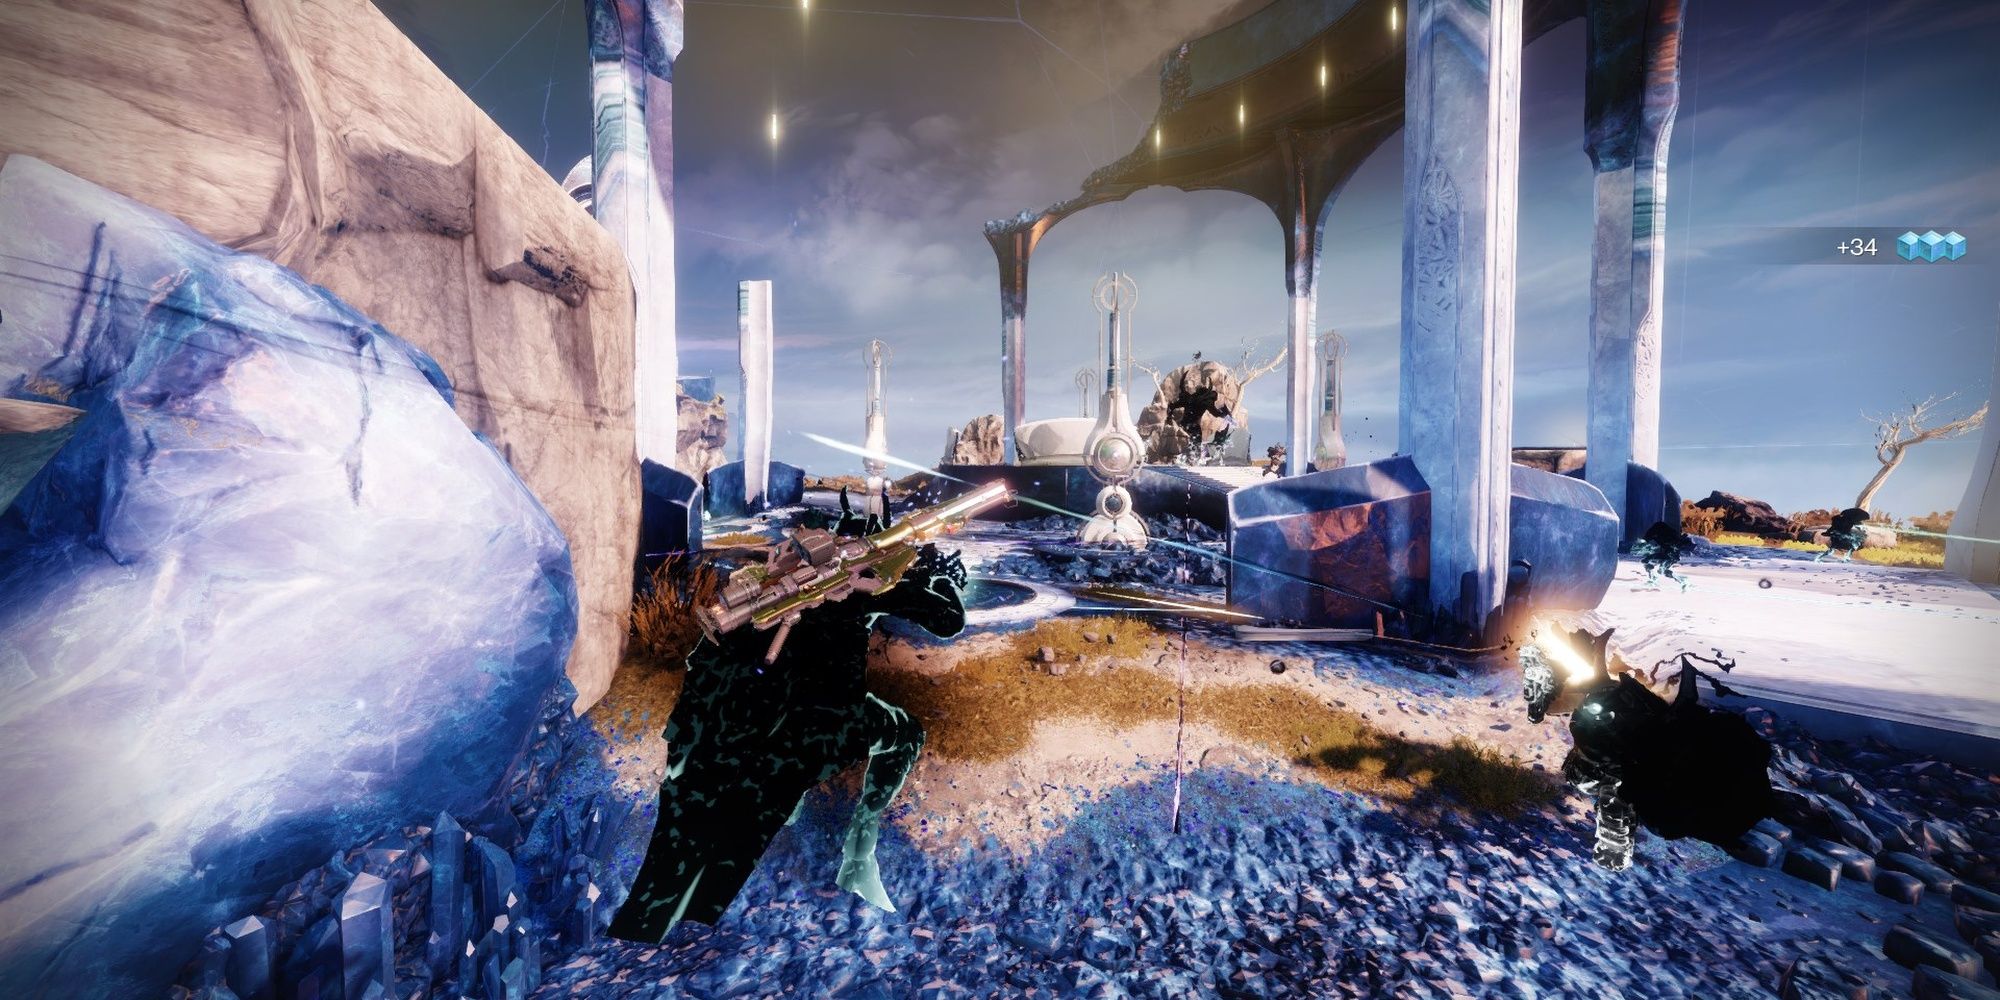
Potential Run into: Install The Batteries
If you are teleported to Vesta, you'll need to install batteries to the Beacon. The end of the loonshit will have a spherical device guarded past Taken. Shoot at the sphere to pause it, revealing three batteries. Your fireteam must escort these three batteries to plates abreast the Beacon. Exist careful, equally invulnerable Knights with Stasis cannons roam the loonshit.
Escorting Batteries
While you have a battery in mitt, your character volition be Burdened for 15 seconds. This is your window for carrying the bombardment. Subsequently 15 seconds pass, your grapheme will drop the battery and become Exhausted for x seconds, preventing them from picking upwardly a battery. Nearly players won't be able to dunk a battery in one become, so you'll desire three players nigh the beacon to take hold of the batteries in one case the bombardment team'southward timers are up. At that place's no penalty for letting the batteries lay effectually, making this much less stressful than a typical dungeon or raid encounter.
To make this function easier, have a fourth person stand beside the battery group. This aureola grants the "Suppressor" buff. While yous have this vitrify, you can shoot at Lost Knights to disable their power to attack. Doing then will let the battery squad to walk past the Knights safely, allowing your fireteam to beat this encounter much faster.
Damaging Lost Knights
Once iii batteries take been installed, the two Lost Knight bosses in the loonshit volition become vulnerable. Use your Heavy and Super to accept them out. Defeating both Knights volition brand the second spherical structure vulnerable, allowing your team to escort the last three batteries to the Beacon. Escort the batteries, impale the Knights, so await for the Beacon to teleport your squad to the Oracle Engine.
Potential Encounter: Prevent The Ether Harvest
Should your team arrive at Ceres, you lot'll need to foreclose Ether orbs from inbound scrapped Servitors around the arena. This come across is much easier than the battery escort section. Defeat any Scorn adds that spawn, and proceed your eyes peeled for blue Ether orbs. They'll spawn in a large swarm, so they're tough to miss. When you've destroyed enough Ether, y'all'll exist teleported to the Oracle Engine to finish the mission.
Ether Encounter Bug: Ether orbs tin can sometimes despawn or become stuck in terrain, bricking the encounter. Break Ether orbs as soon as they spawn to reduce the chance of this happening.
Defeat The Concluding Boss
Like to the Blind Well, the concluding boss of Astral Alignment rotates each week. There are two bosses tied to this action: a Taken Ogre and a Scorn Businesswoman. Both bosses accept three phases, each broken up with an immunity shield. Break the shield, and then repeat until the boss dies.
Kill the dominate to end the mission, spawning ii chests that grant seasonal boodle. The second chest, the one that costs Parallax Trajectories to open, has a run a risk of dropping the Ager'due south Scepter Exotic Goad. On Fable difficulty, the Catalyst is more likely to drib.
Week 1: Defeat Kholks, Taken Of Xivu Arath
A Taken Ogre named Kholks, Taken of Xivu Arath volition spawn once your squad is back to the Oracle Engine. This boss fight has some parallels to the Morgeth fight in the Final Wish raid, pitting players confronting an invulnerable Ogre that spews out dozens of Axiom Bolts from its back. Unlike Morgeth, you won't need to juggle buffs to kill Kholks.
Note: The Axion Bolt barrage will aggressively track one player, dealing a ton of damage if the unabridged avalanche lands. Try to intermission these bolts whenever possible to forestall someone from dying.
Damage the Ogre until the first 33% of its HP is removed. Information technology'll then go immune. Taken Blights will brainstorm to spawn. Break a Blight to spawn a Taken Captain that, when slain, volition drib a Taken Essence. Use this Taken weapon to break the Ogre'south shield. Repeat this process until the Ogre is slain.
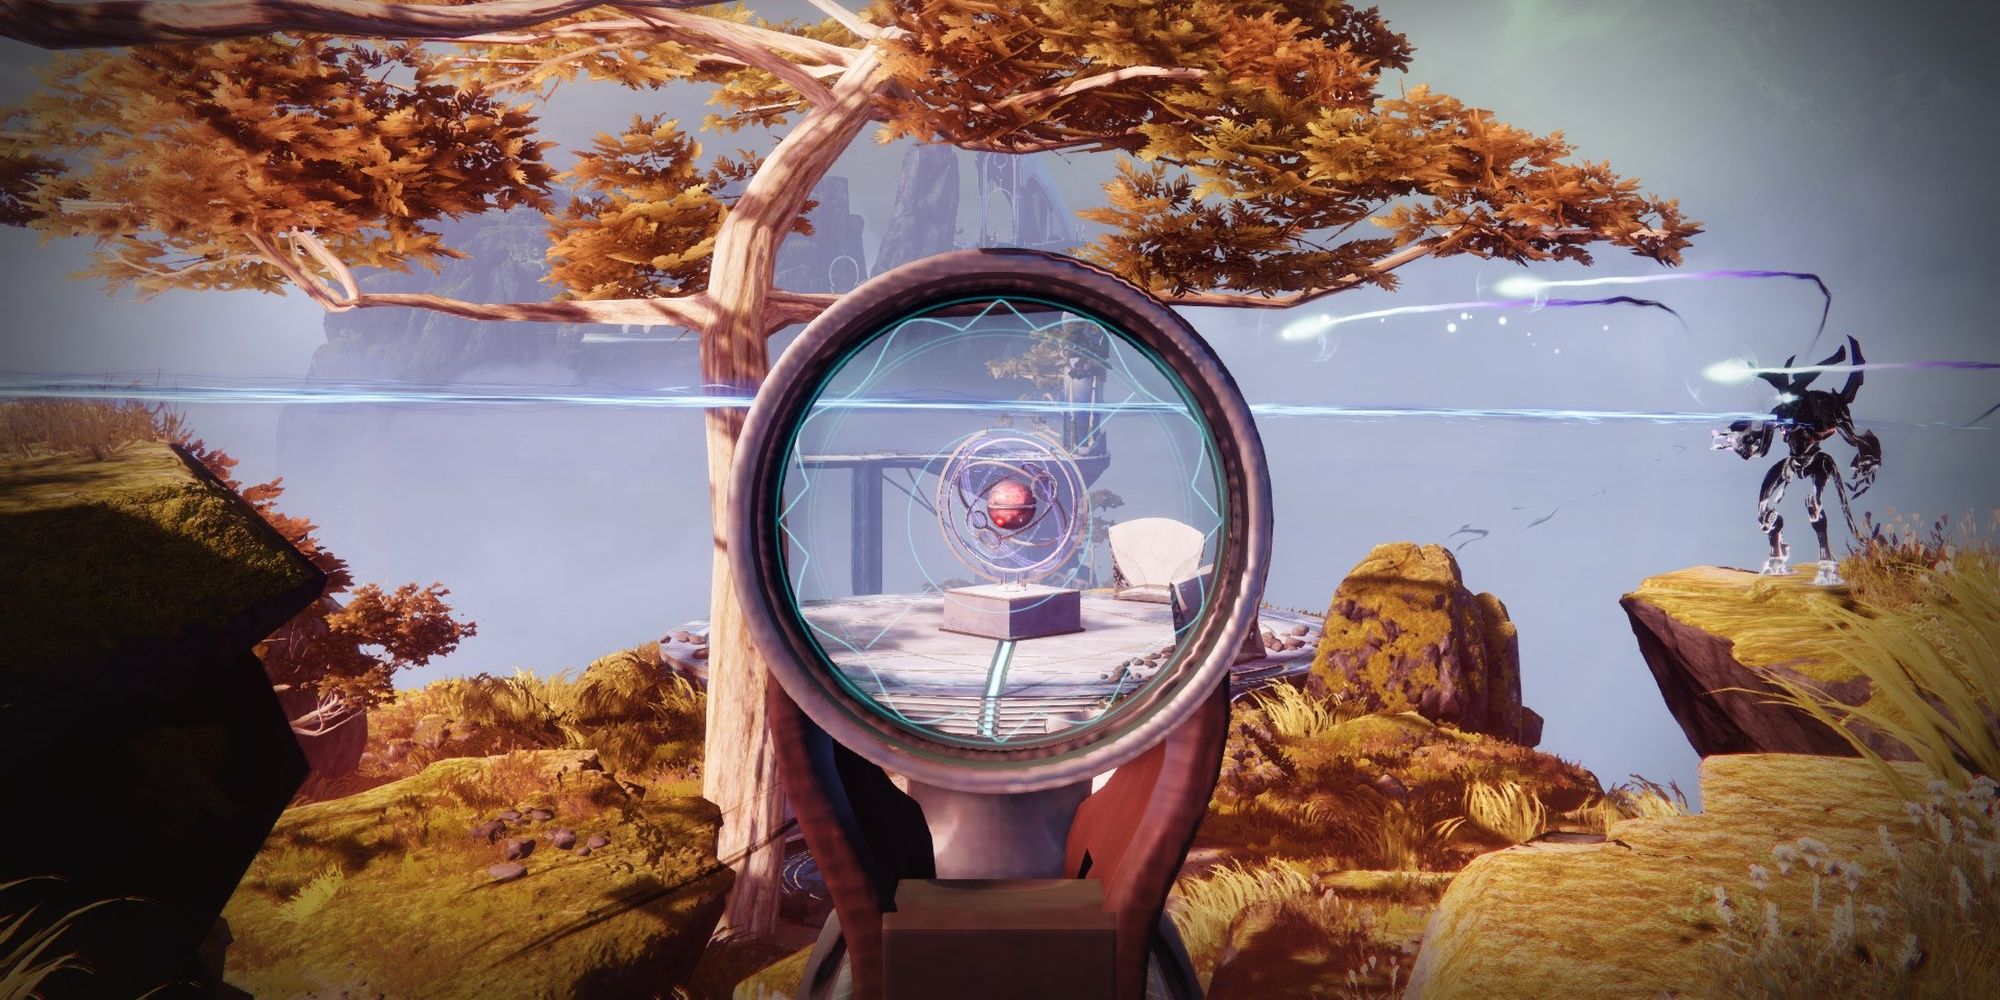
Week 2: Defeat Kruutiks, Reefbane
Mechanically, this boss is very like to the Rifleman from the Forsaken campaign. Periodically, Kruutiks, Reefbane will create duplicates of itself that will endeavor to snipe you from a altitude. These holograms die in a unmarried hitting, although they deal full damage if they hit you.
When you remove 33% of Kruutiks' HP, information technology'll become immune and turn into a trail of Ether—repositioning to another part of the map. Duplicates of Kruutiks will spawn alongside a torrent of Ether free energy. You must preclude the Ether orbs from touching Kruutiks; each orb volition heal a small chunk of Kruutiks' HP. Destroy all of the hologram duplicates until you find the real Kruutiks. Destroy the Ether orbs, then you should exist able to harm the dominate again. Repeat this process until the dominate dies.
About The Author

Source: https://www.thegamer.com/destiny-2-astral-alignment-activity-guide/